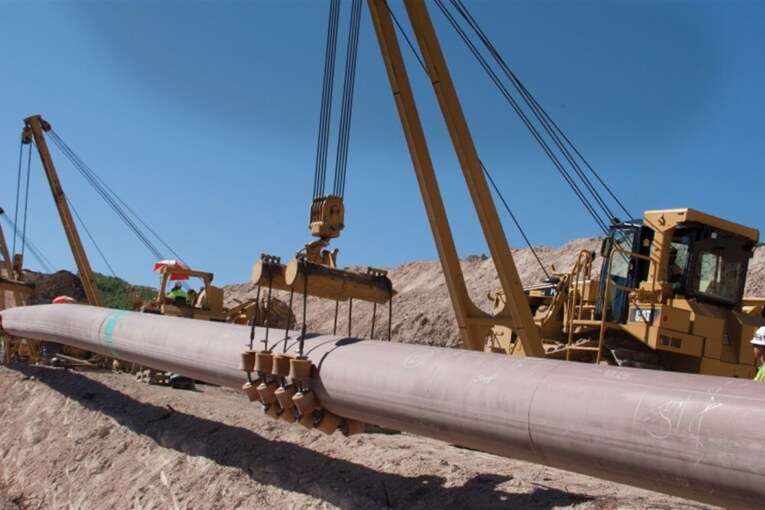
The current natural gas pipeline boom gives many homeowners a first row seat to the process of pipeline construction. The rush to move natural gas to markets places pipelines too-close-to home, with construction taking place in backyards, farms, pastures, and right at the mailboxes of residents throughout the country. This page walks you through the process of a natural gas pipeline currently being constructed. After all federal and state level permits are approved and easement agreements or eminent domain condemnations completed, the process of pipeline construction can begin. Crews flag the boundaries of all locations where construction activities will take place. The flags mark the extent of the temporary construction zone surrounding the pipeline right-of-way (ROW), as well as the staging and storage areas. The width of the right-of-way is determined based on the diameter of the pipe (8 – 42 inches), with widths ranging from 80 – 125. While existing roads are used when possible, temporary access roads are also constructed to create direct paths from staging areas to the pipeline ROW.
Step 1: Construction Staging Areas
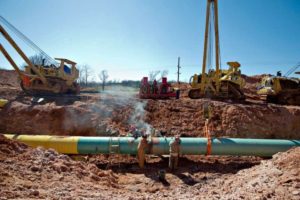
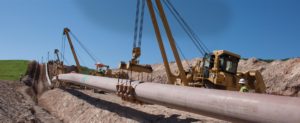
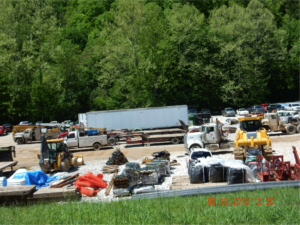
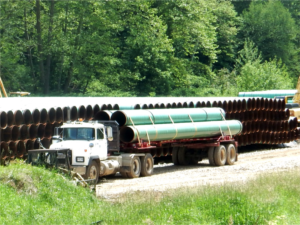
In order to construct a pipeline, staging areas and storage yards are cleared, strategically located along the planned right-of-way. These areas are used to stockpile pipe and to store fuel tanks, sand bags, silt fencing, stakes, and equipment parts. They provide parking for construction equipment, employee trucks, and locations for office trailers.
Staging areas are cleared and covered in rough stone gravel, often reinforced with large wood timber matting. These areas can be located in fields, pasture, or forested land and can impact streams and wetlands. Often, these areas require the construction of access roads to and from paved roads, and to and from the areas to the pipeline ROW.
Step 2: Clear Cutting the ROW
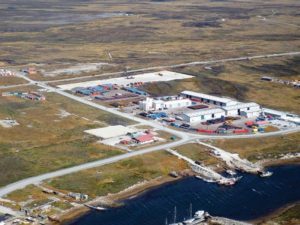
After the equipment is accessible in the staging area, work will begin to clear cut the pipeline right-of-way. Landowners have the option of selling the timber themselves, or allowing the company responsibility for its sale or disposal. Large trees are stockpiled or hauled off, while the branches and tree tops are placed into piles and burned. A stump grinder then removes the remaining tree stumps in the ROW.
Step 3: Excavating the Trench
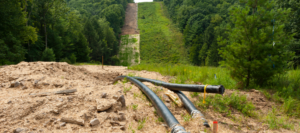
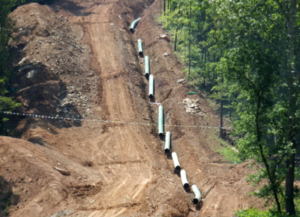
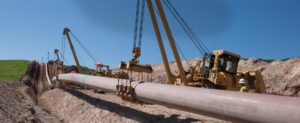
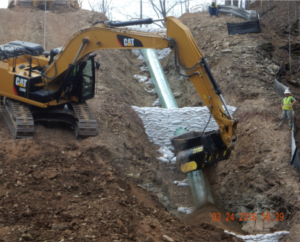
The trench for the pipeline is dug after the ROW is cleared of trees. As seen in several of the photos below, the hillsides are so steep that trench diggers are lowered and secured to larger bulldozers with a tether line. If rocks ledges are encountered, track hoes with jack hammers are brought in to create the trench. Sandbags are placed within the trench to restrict water flow and to support the pipe.
Step 4: Pipe Transport, Stringing, & Assembly
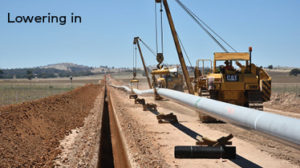
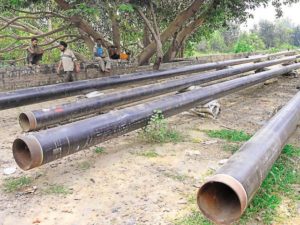
When the trench is completed, pre-coated segments of pipe, usually 40 ft in length, are transported from stockpiles in the staging area to the right-of-way. Pipes are laid above ground beside the trench, or within the trench on top of supportive sandbags in steep terrain. Certain pipe sections are bent using a pipe bending tool to allow the pipeline to follow the planned route and the terrain. The pipe sections will then be welded together, sand blasted, and the weld joints coated with epoxy to prevent corrosion. Finally, the weld joints are inspected with x-ray to ensure their quality. Connected lengths of pipe can then be lowered into the trench.
Step 5: Obstacles: Roads & Streams
Pipelines cross existing roads, highways, streams, rivers and wetlands. Typically, pipelines are constructed underneath these obstacles by either boring for shallow depth or using horizontal directional drilling (HDD) for deeper placement. Other obstacles include abandoned mines, karst topography, and densely populated areas. Each obstacles requires a unique method and order of operations.
Step 6: Testing & Restoration
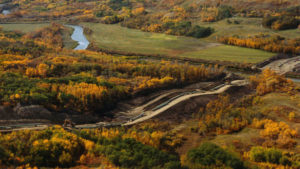
After the pipe is inspected, the trench is filled in. Before completing the project, the pipeline integrity must be verified using hydrostatic testing. Pipeline companies receive permits to withdraw millions of gallons of water from streams and rivers along the pipeline path. This water is sent through the pipeline and the pressure is increased to above the maximum operational level. If the pipeline remains intact during this test, it is deemed operational. After this, the surface of the ROW is seeded and fertilized, and above-ground markers are placed along the pipeline path.

Additional Infrastructure
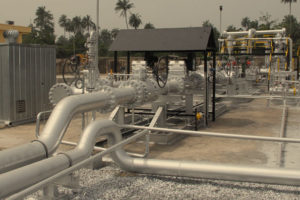
While the majority of a pipeline is underground, there are several types of supporting infrastructure that are constructed during a pipeline project. Compressor stations, facilities that maintain the pressure level within the pipeline, are built to support new pipeline projects, or existing stations are upgraded. Additionally, valve stations are built above the right-of-way along the pipeline, allowing operators to shut off sections of the line for maintenance or in an emergency. Metering stations are built along the length of pipelines, providing a measure of the flow of gas throughout the line.
To ensure pipeline integrity, welds must be x-rayed and the pipe hydro-tested. This process involves pumping in clean water, pressured above the expected MAOP — maximum average operating pressure. Then, all water is removed and “pigs” are inserted into the pipe to clean it out. When the pigs eventually exit the far end of the pipe clean, then the line will be filled with dry air. Air compressors pump up the air, and the air is run thru a drier. The air will be sampled and tested for moisture content. When those parameters get low enough, the complete pipeline is filled with nitrogen to absorb more of the remaining moisture. Only then is the pipeline ready to transport natural gas.


